Thursday, 8 March 2012

Project 366

I am currently doing a 366 project with a few friends on Face Book. Here we simply have to take a picture every day then up load. Afterwards we comment on each others work, whether we've liked them or not and discuss the effects/filters we've used. With having to do one every day this of course effects the quality of our pictures as your sometimes having to rush, but with the help of Photoshop most shots can be saved but also does help to develop your camera skills as your forced to take pictures every day. Below are a few I have taken with a Canon PowerShot A480 , set at 10mega pixels which have then been post processed by myself in Photoshop.I mostly use this camera as it can be kept in my pocket for ease but have also used my Nikon when I've more time but using the little one does help you become more conspicuous. This is just to show you the sort of pictures and style I like and hopefully I'll be able to tie some of them in with the themes I am doing.


This was taken from the main car park in Burton looking towards Station Street with one of the Court buildings in the back ground . I'd been there a little while taking the same shot when I quickly spotted the lady  and the man across the road both walking in the same direction .Luckily I was able to catch her in the middle of the post just before she went behind the bin .I really like this sort of picture showing people going about there day without anyone having to pose for it so all natural .I used the Fresco filter which can be found within the Artistic filters in Photoshop and added a black border around it, these really helped to give the image texture and balance. The lines from the brick lead you nicely to the focal point , that being the walking woman and the lamp post and is very well balanced with building in the back ground.
 Below you can see the original picture ,as you can see very different looking. I will process in Photoshop again still using the Fresco filter but adjust the levels so to reduce the effect. I've shown  screen grabs of the different stages below.


First I'll crop the image again , setting the size to 10in x 10in same size as before


Secondly will add the Fresco filter.Firstly showing the set levels for the Fresco filter then I'll reduce the levels shown at the top right of the screen grab to show another image but with a lessened effect hopefully.


As you can see I have reduced the three level but this didn't work out very good so will try again.

Here I have again reduced the levels but by not so much as before , this time it does look better and still has the Fresco effect given by the filter but only, I feel,has reduced it by a minimal amount. Comparing the two I prefer the first image set by the standard Fresco filter. 


Here we have a lazy day picture I took . I'd not had any time in the day to take a picture so was was a bit stuck with what to take, as I was at home by this point I  turned to my garden .Here I found my line of washing. This image is an attempt at urban photography with a little twist by turning to black and white, again I used the Fresco filter but also on this occasion used the History brush in Photshop to bring the one sock back into colour. I think this worked quite well. It's not the best of composed pictures and would have been a different sot if there'd bee a bit of wind to liven it up but this was as I said before a bit of a rush but I think I made the best of the situation. Below shows the original picture. As you can see not very inspiring, the colours not working very well so turned to Black and White and again added the Fresco filter .Then turning the one sock in the middle of the shot back into colour with the Photoshop's History brush making it the focal point and a little cropped to 10in by 8in made the picture much more interesting.


 Above showing the history brush tool putting the colour back.


Here I took a little more time. This is a shot of Dunstall Hall from the Tattenhill to Barton road. I again used the Canon but as it was taken on full zoom and set on the camera's infinity setting , I then, in Photoshop, cropped the picture to help enlarge the image so in turn had to increase it's sharpness to help a little and adjusted the exposure as well. A different filter was used on this occasion again within Photoshop,  this time within the Brush Stroke folder one called Ink Outlines and lastly converted to black and white. I'm very impressed with this little camera particularly when set on the infinity mode as it copes very well with being able to keep the foregrounds and backgrounds in focus. 

Here we see again the original image ,a reasonable image with good focus throughout and good colour tones but I wanted to centralise and enlarge the Hall so I cropped to suit , again 10in x 10in. 

Below is the same image processed again in Photoshop but this time   


Above is a image of my little camera.

Thursday, 23 February 2012

Statement of Intent Unit 305

After completing Level 2 I am now embarking into Level 3 . For level 2 I chose for my two themes to take Portrait and Nature pictures . For these I used my children for inspiration for the portraits and was fortunate enough to be able to take advantage of two trips to Cornwall to take pictures of sunsets and sunrises on the wonderful beaches they have there.
This time I'm looking to take pictures of Urban and Architectural scenes for my two themes.

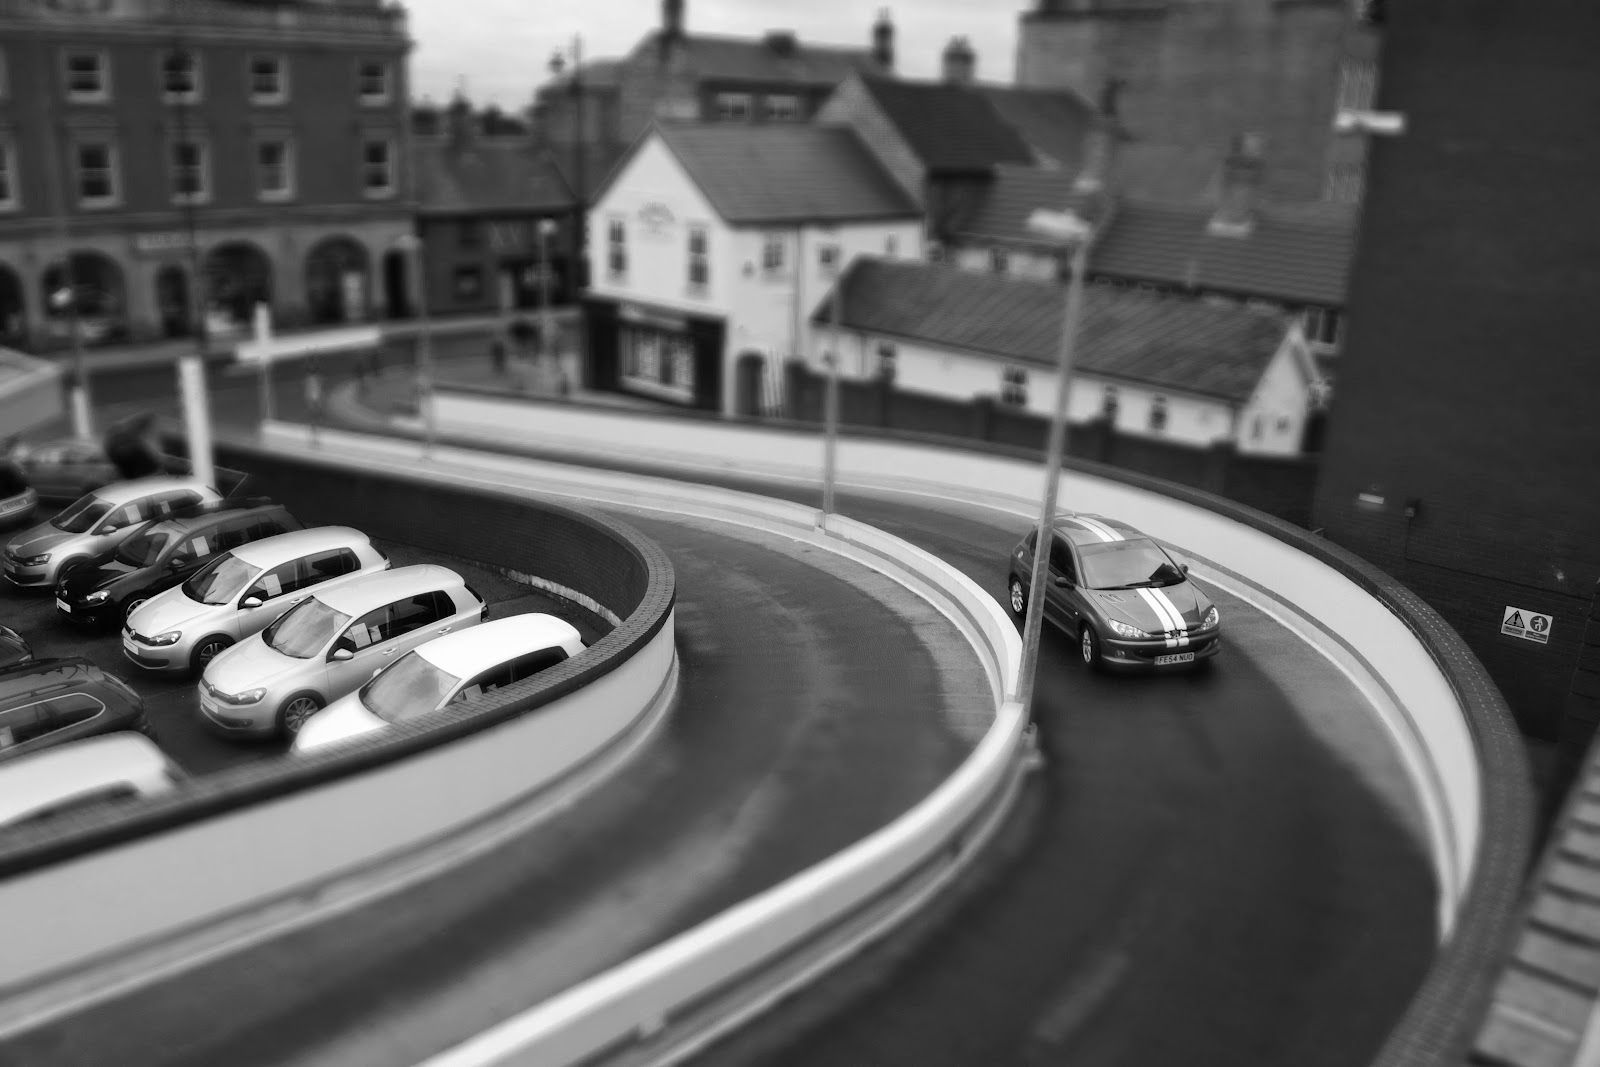
For my first theme I am very interested in a photographic technique I have recently discovered called Tilt Shift or Miniature faking so will be choosing from Task 1 , Urban and Rural Landscapes . This effect gives the picture a sense of having one selected area in focus which is slightly enlarged whilst the rest of the picture is in a blur . By doing this you can create, if you've correctly composed your picture, an image that shows an effect of the objects in the main focused area of being in miniature , as in it looks like models rather then actual people or objects .This is an effect that I have on my own camera , a Nikon D3100 , in its menu within the many different effects there's one called Miniature. This allows you to select a specific area to be processed which is saved directly to your camera's memory card. I am not sure if this process can also be found within Photoshop but will be investigating into this. Below are a few examples of Tilt shift / Miniature faking images. As you can see in the first and last  examples the light has greatly effected how the images look. In the first the brightness at the top of the picture helps keep your focus on the middle section by intensifying the blurring effect so it almost fades away. In the last image the light greatly effects again by being more subdued so again you are drawn to the focused area , due to the darker surroundings making it to stand out more.


The above shot is of London street scene I'd found during my research. It was taken by a David Jones , please see a link to his Flickr account . http://www.flickr.com/photos/cloudsoup/. This has been manipulated with Photoshop. I particularly like the idea of having people in the pictures as well really adds to the effect.


The above picture of the tennis court was created by a Vincent Laforet, here is a link to his web site . http://www.laforetvisuals.com/. . I will be posting further research into his work soon.


I have experimented a little already and have found that black and white does not work at all, indeed images come across much better with the colours and contrast increased which in turn increases the effect.As you can be see I have used the original image seen directly below to create three more pictures in different states of manipulation.


The above image I have made the main point of focus around the cars to the left and to the car driving up the road to a roof top car park. I have increased the colours , contrast and brightness. By doing this I feel it has enhanced the effect of the whole scene looking like a model.

Below I have simply used the above image as a template and simply converted to Black and White. As you can see this has no where near the same impact as the above picture
Thirdly , as seen above I have shifted the band of focused area towards the top of the image and slightly cropped it to enlarge this area. I'm not sure which a prefer yet. The first conversion I did first and was very pleased with but after redoing it as seen above I may actually like this one more. I think this is due to having the buildings and the people as the main area of focus making it look more like a toy town , you decide.


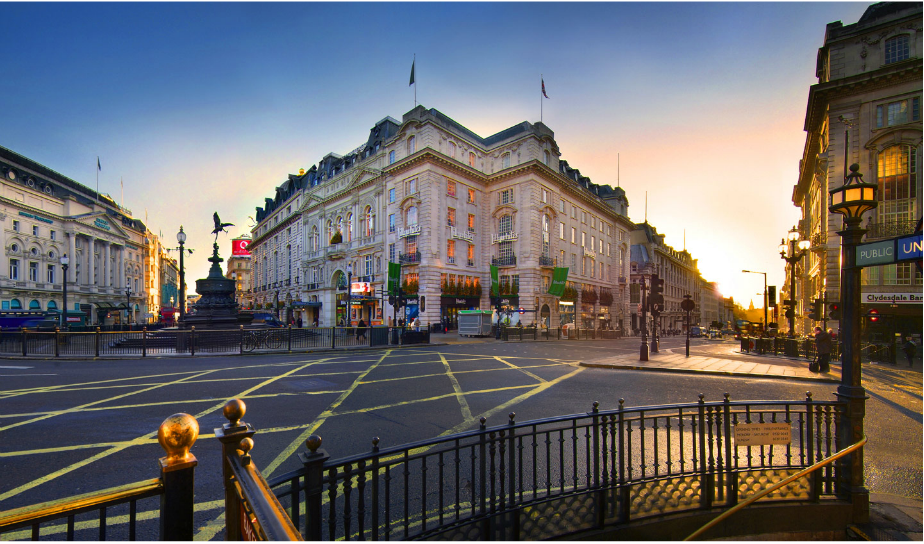
For the second theme from Task 1 I have chose to do Architectural interiors and exteriors. I will attempt here to emulate the work of Adam Lawrenson and John H Maw. Below you can see some examples of their work.


With this in mind I have chosen to do the courses shown at the bottom of this post, as it involves manipulation which will tie in with both themes.


Equipment to be used
I will be using my camera a Nikon D3100 with it's kit lens , a Nikkor 18-55mm DX , a Tamron 70-300mm F4/5.6 DI LD Macro Lens and my Veldon DF-50 Tripod. I will also be using various lens filters.


Health and Safety
For the first theme the safety to myself and my equipment will be a concern,  as I've to get to a high vantage points to get the desired picture to make the image work for me, possible places will be from multi car park roofs . With this in mind I will be taking extra care and will, when possible, be taking some one with me to help look for any potential hazards. As with all picture taking great care will need to be taken to ensure that not only myself is kept safe but to any general public who maybe in the area are too , so will need to take great care that myself and my equipment don't cause any hazards to anyone.

7512-93  Level 3 Certificate in Photo Image Capture and Manipulation.  


Unit 305 Photo image capture

Unit 215 Digital Image Manipulation.